Rooftop Installations of Custom Inflatables

The Professional's How-to Guide for Rooftop Installations of Inflatables
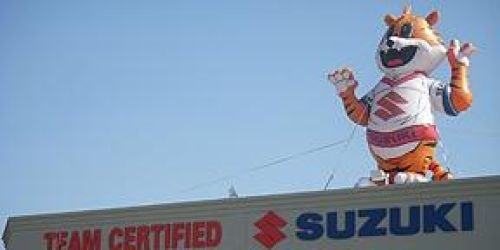
Rooftop installations of cold-air inflatables are not something to be taken lightly. They are not the same as helium rooftop installations or ground installations. Because of the sheer height and the special considerations a rooftop installation entails, you'll need to be extra cautious. This article will outline the necessary steps for rooftop installations. However, if you own an inflatable or are considering buying one, we strongly suggest hiring a professional to conduct at least your first install.
Step 1 - Make Sure You Have the Necessary Equipment
Before you begin, check to be sure you have:
- Inflatable
- Blower System
- Set of Double Cambuckles (minimum 4)
- Carabiner Clips
- Anchors and eyebolts
- Tether straps
- Tarp
- Extension Cord
- Hammer Drill
- 3/4” Masonry Bit
- Lead Anchors (minimum 4)
It is NOT recommended that you attempt inflation in winds that exceed 20 mph.
Getting a permit may also be necessary because rooftop installations are not allowed in every city. Always check before proceeding. If you choose a professional installation company, they will generally secure the permit for you.
Step 2 - Inspect the Rooftop
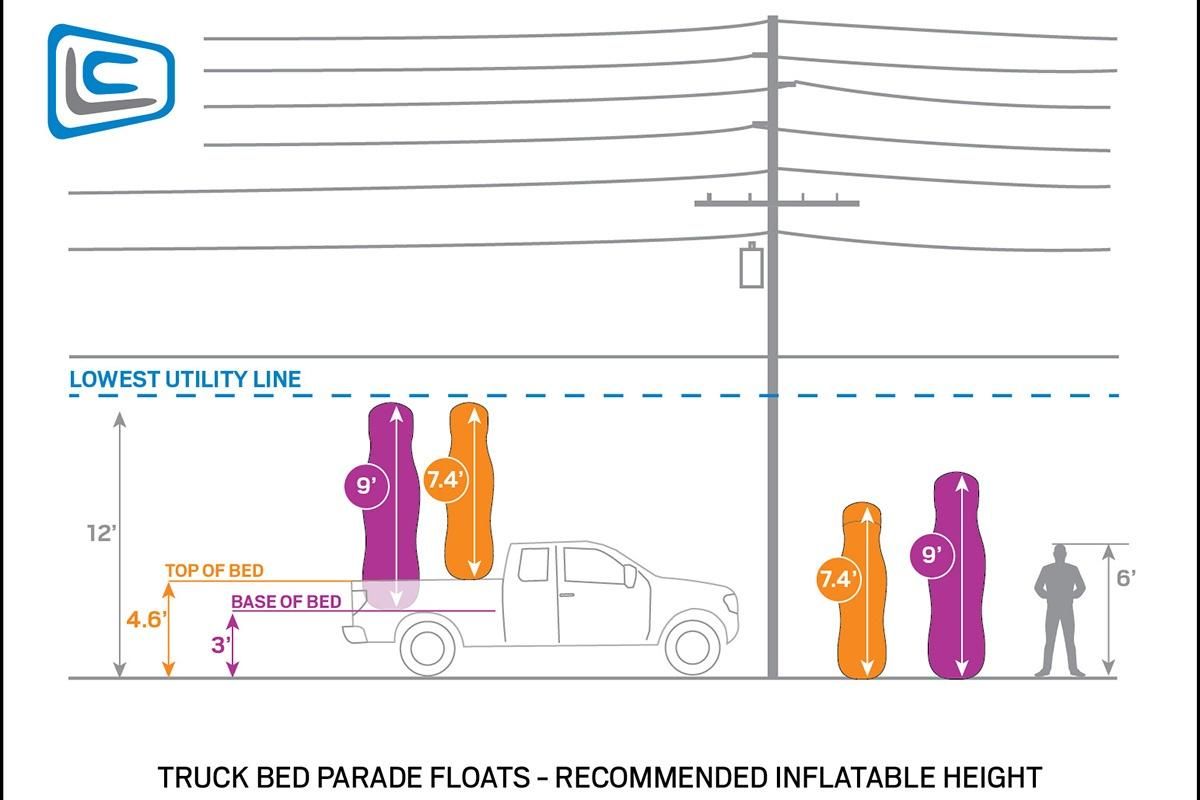
Take time to walk the rooftop and make mental notes. Are the walls brick or cement? These make the best anchor points. Is there a good line of sight for passing traffic? If so, that's where you'll want to place the inflatable if possible. Are there tree limbs or power lines that will interfere with or come in direct contact with an inflatable? Choose another location if you can't cut limbs or avoid power lines. Either could seriously damage the inflatable and/or you during the installation.
Step 3 - Find the Electrical Source
Cold-air inflatables can remain upright because they use an internal blower. These blowers require electricity to operate. Most inflatables require a 20-amp circuit breaker, preferably on a non-switched power source. Is there a suitable power source on the roof? If not, contact the landlord of the building or a qualified electrician. The best option will be to wire the roof with a constant flow of power that is not turned off at night. If installing a permanent power source is not feasible, a generator may be used.
Step 4 - Locate the Best Anchor Points
The anchors are the devices that hold your inflatable in your chosen location. To insert the anchors, you will need to locate sturdy anchor points. As I mentioned earlier, the best anchor points are in concrete block or the mortar between bricks. You will need to place each anchor at a 45º angle between the top tether strap of your inflatable and the surface. When anchoring to block or mortar, you eliminate the need to mar the roof's surface while keeping your inflatable in place.
WARNING: Never connect tether straps to air-conditioning units, gas pipes, or electrical lines!
Step 5 - Install Lead Anchors
That's it! Just connect the anchors to the balloon, inflate it as usual and you'll have a sight that can be seen for miles around! Need help performing a ground installation? Our ground installation video will show you how.
A hammer drill with a 3/4” masonry bit for pre-drilling holes for lead anchors is preferred. Measure approximately 12” down along the wall of the building for hole placement. Next, install the anchors into the holes by using a hammer or mallet. Finally, screw the eyebolts onto the end of each anchor. Always wear safety goggles and follow safety precautions.
automotive industry inflatables, Featured in Landmarketing Issue 26
What Others Say About Landmark Creations
"People love the inflatable! It's been a great photo op for History Center guests."
- Laura Geffre-Rick, Minnesota Historical Society
"We usually have to keep the arch up for at least 30 minutes after our races since so many people want to get their photos taken with it!"
- Art Boulet, Muddy Monk
"The inflatable arch allows for safe and easy setup and takedown. People have raved about the arch and have made requests to have it at their events."
- Karen Klevesahl, SMET Construction
"[The logo] helped us create a better presence, improved foot traffic, became a photo backdrop and helped us have the best-looking booth at the events,"
- Laura Repreza, KTLM Telemundo 40
"Just wanted to say how much we LOVE our inflatables. We tested them in our lobby where they were, of course, an instant hit for school group photos. Our leadership was quite pleased with the durability and the realism."
- Mike Hennessy, Carnegie Science Center
"It was a big success! Customers were stopping to take their pictures with the inflatable pheasant and it helped draw in interstate traffic."
- M. Kettler, Cabela's


